Stitch welding the body seams
Most of the welding has been done to the panel seams of the car.
Now that I owned my own MIG/MAG welding machine, I could weld as much as I wanted. So I decided to go full out and try to get some more structural strength in the car.
Not that the Corolla is such a basket case as it came from the factory, but there is room for improvement.
I'm going to try and improve the stiffness of the entire body a little. The Corolla is a pretty well made car, but the entire body is still held together by spot-welds. That's easy, cheap and fast for the manufacturer. But not the best way to keep it all together.
Large sections of the panels are not fused together, and when those area's are stressed, they can easily flex.
A car with all the panel seams completely welded would be way more rigid and that would help improve the handling of the car a fair bit.
But Toyota designed the car with spot-welds and flex in mind. So the construction of the rest of the body is designed with that in mind and just welding all the seams together along the total length wouldn't be the best idea.
If I were to completely eliminate the flex points at the seams, the stress put on the metal will just seek out the next weakest point in the panels. They may well buckle or tear as a result of that.
So as long as the manufacturer had flex in mind for the body, it's best to allow it to do so, to some degree.
But to improve the rigidity a little and allow some flex in the chassis, there is another way of doing so.
Instead of welding the all the seams of the car together all the way, you can stitch weld them.
With stitch welding, you weld a certain length together at a certain interval. It is also good practice to grind the welds back to the base metal again. As the weld is much thicker than the metal right next to it, the thinner metal can become a weak point under stress as well. If we grind back the metal of the welds, this difference in strength is reduced and the seam will have a more uniform stress pattern.
I stitch welded the donor front already after welding it on.
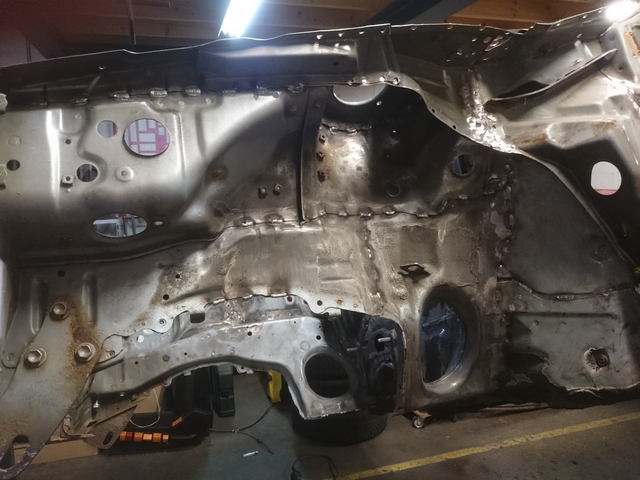
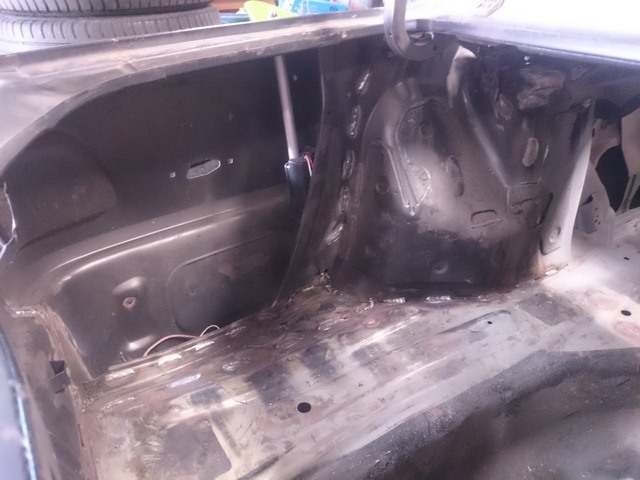
But the rest of the body had to be done also. But to get to the seams, I had to remove all the undercoating of the body. I removed it with some wire brushes on the angle grinder. It makes a bit of a mess, but I recon it's the easiest and fastest way to do it.
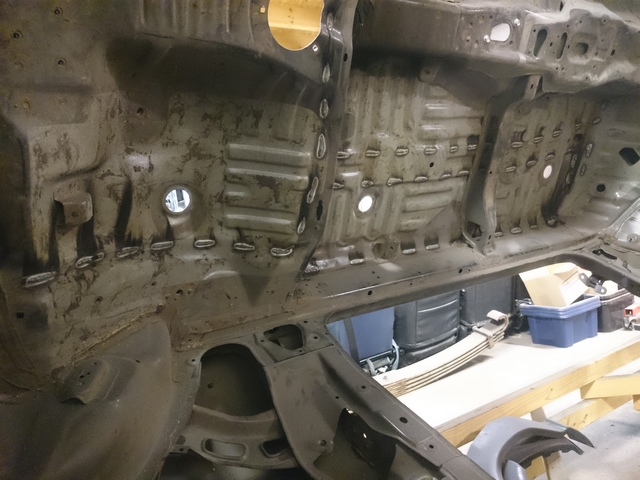
Now that the panel seams were bare and out in the open, I could start looking at how I could weld them. In most places I made welds of about 40mm's long with 40mm intervals. I marked the places to weld with a permanent marker and then welded everything up.
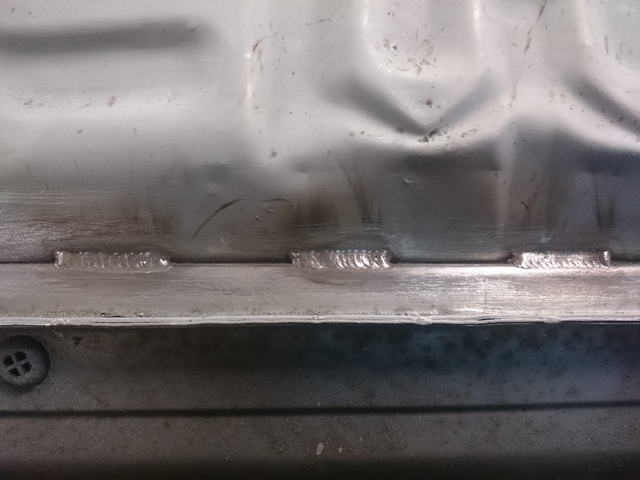
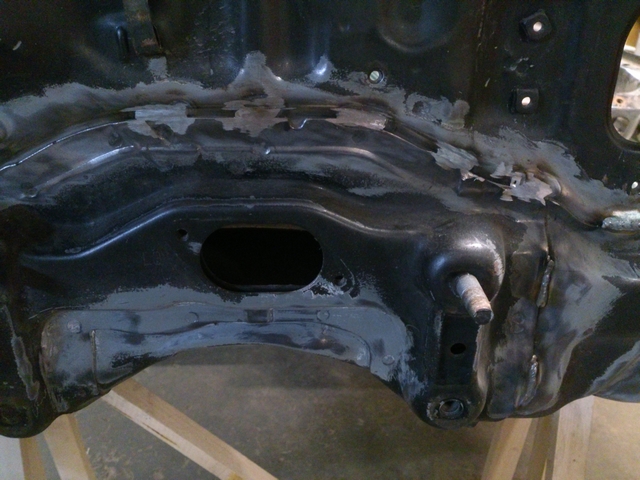
A detail shot of the welds. These are not continuous welds as well, but spot welds laid end to end.
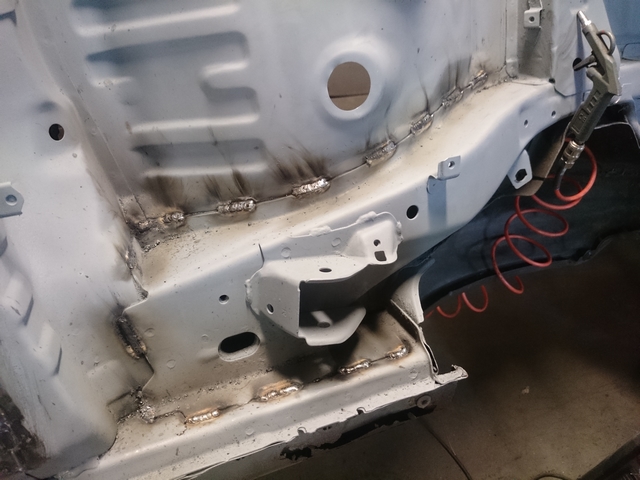
And this leaves for an interesting pattern on the other side of the panels. At least I know for certain
that there is enough penetration of the material in the welds.
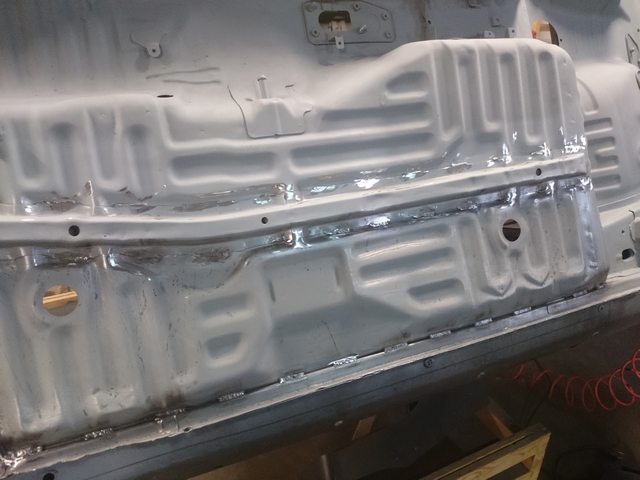
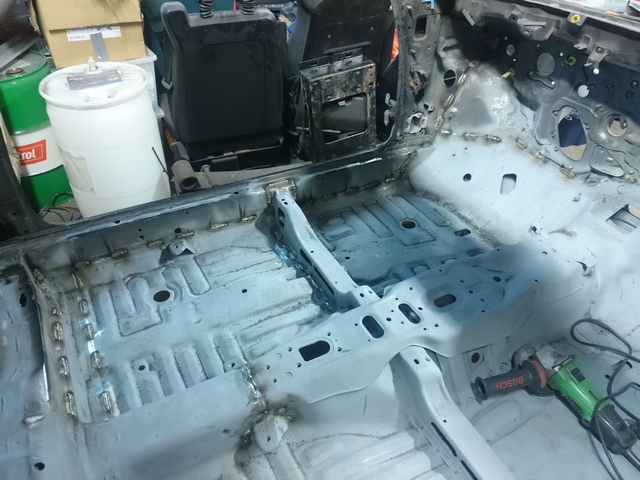
And this is how all the panel seams on the underside of the car have been welded. The rest of the car will get the same treatment and hopefully this will improve the torsion stiffness of the car a little, what might be a good thing for the handling of the car.
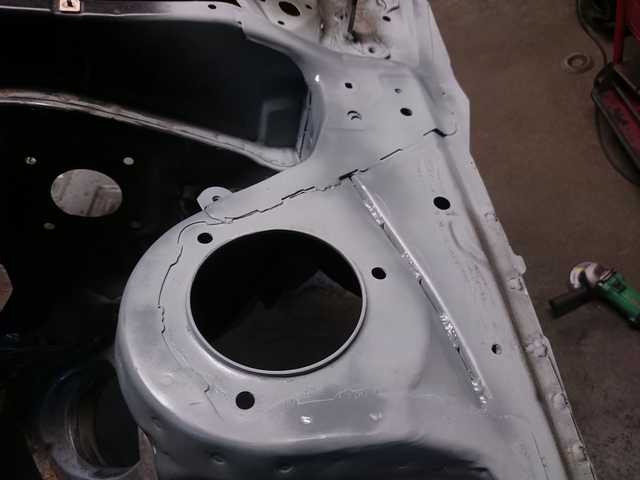
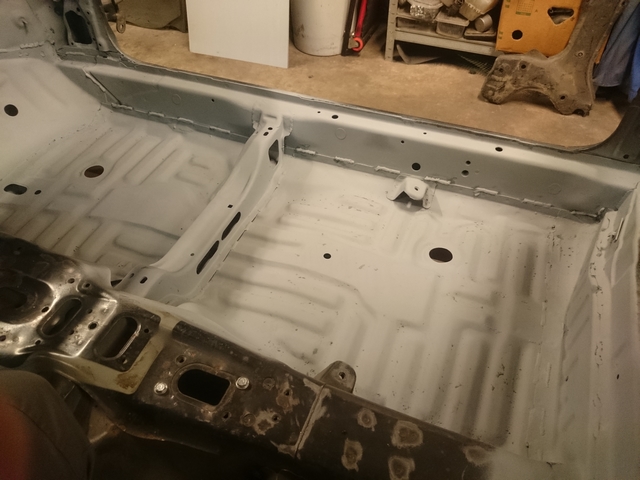
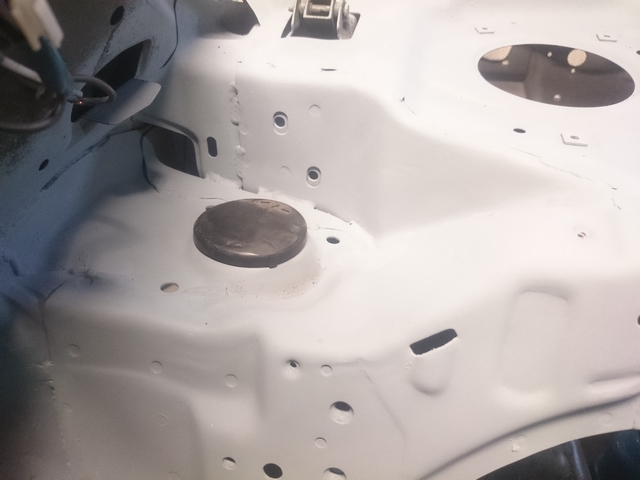
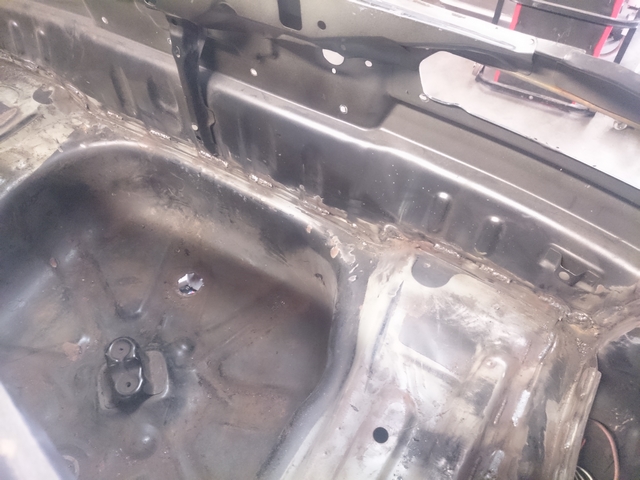
The panel seams on the inside of the car got the same treatment and were stitch welded. I started on the front with the firewall where multiple panels come together.
In the picture above, the welds still need to be grind down.

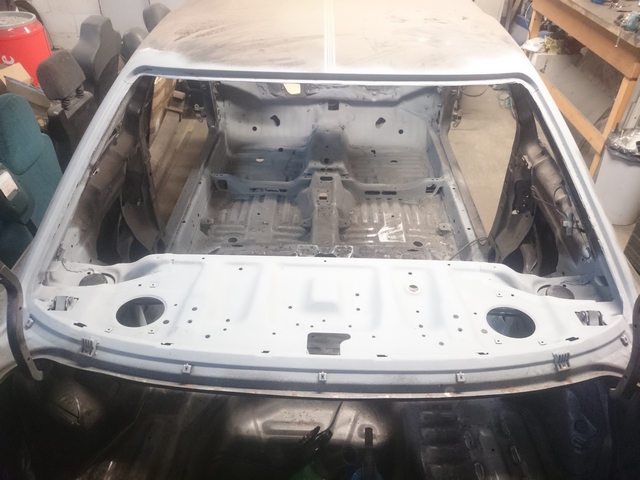
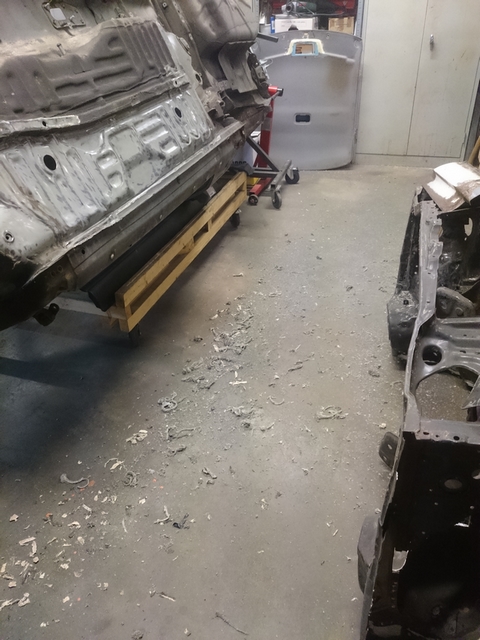
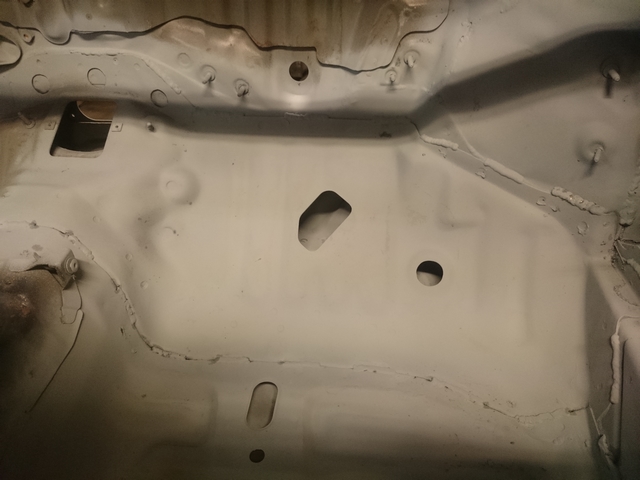
All the seams in the trunk of the car have been stitch welded, which completes the entire seam weld operation.
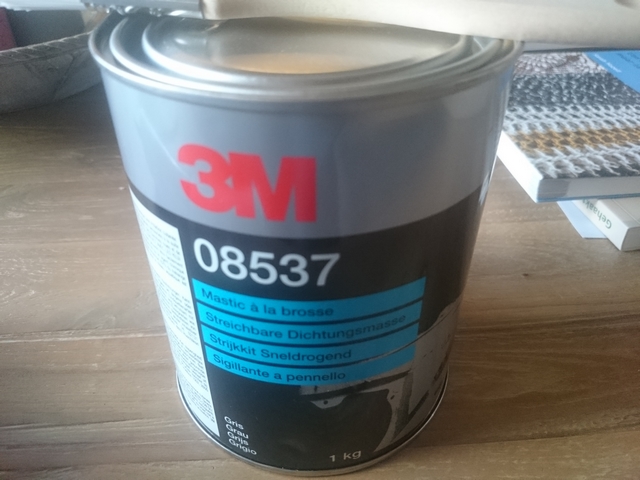
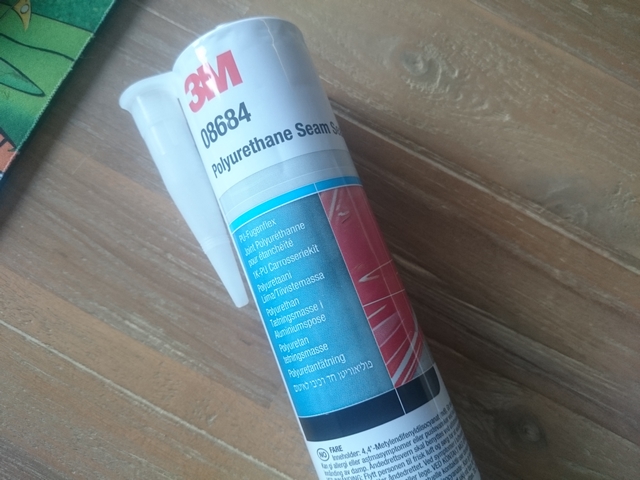
Now all I have to do is finish all the welds and then I can start applying the seam sealer again. This will protect the welds and prevent moisture from entering the panel seams.
I'm using 3M polyurethane body seam sealer which can be applied with a brush and with a caulking gun. It's gray in color, but can be painted over when it has set.
That way, it will blend in nicely and the body will have a nice, factory finish again.