4A-GE Rebuild
After all the machining work to the engine was done by the remanufacturers, I could start rebuilding the engine again. I had already collected a few parts that were ready to go into the engine now.
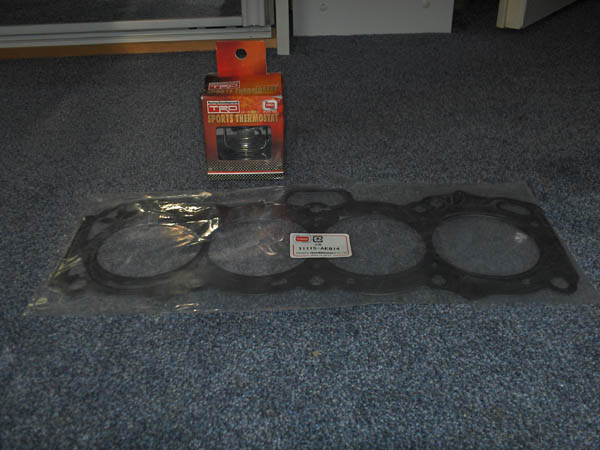
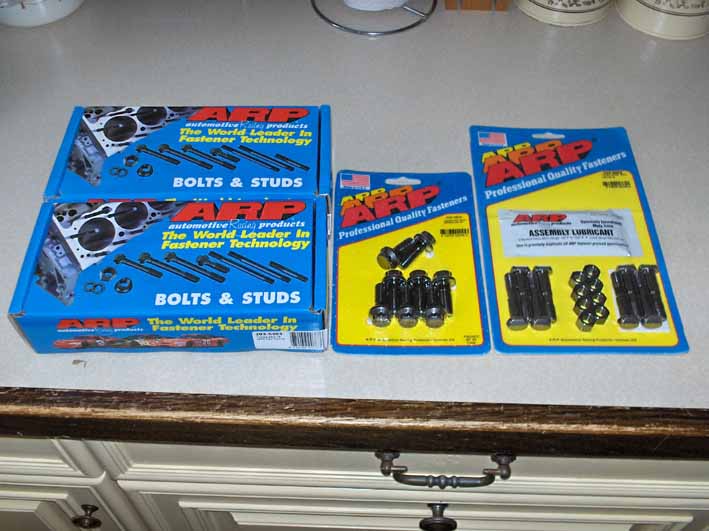
A few new parts for the engine. A TRD 0,8mm steel head gasket, a TRD lower opening thermostat, blue silicone vacuum hoses and all the ARP hardware needed for the engine.
I had already taken a few parts with me to work to get them sandblasted and coated again to prevent them from corroding and to just make them look a little nicer again.
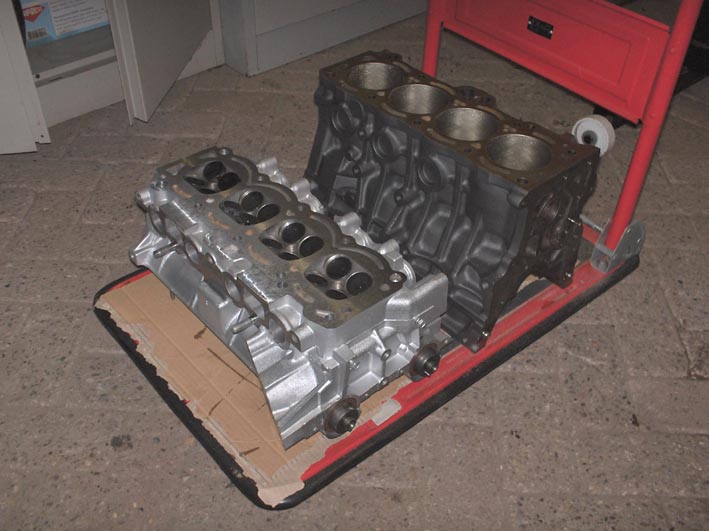
Remanufactured, sandblasted and painted cylinder head and cylinder block. Ready for assembly.
Hanging the cylinder block in the engine stand again would help making assembly a little easier again.
After sandblasting, all the parts were thoroughly cleaned and all the channels etc. were blown through with compressed air to make sure nothing was left behind to ruin the engine later on.
Everything got a last glance and cleaning with a degreaser and a soft piece of cloth before actually beginning the rebuild.
All the pistons were attached to the pistons with new piston pins and retaining clips. And after all new piston rings were placed, the pistons could gently be tapped into the cylinders.
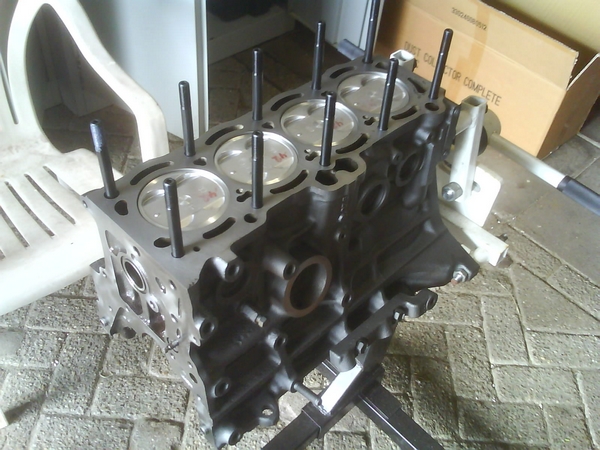
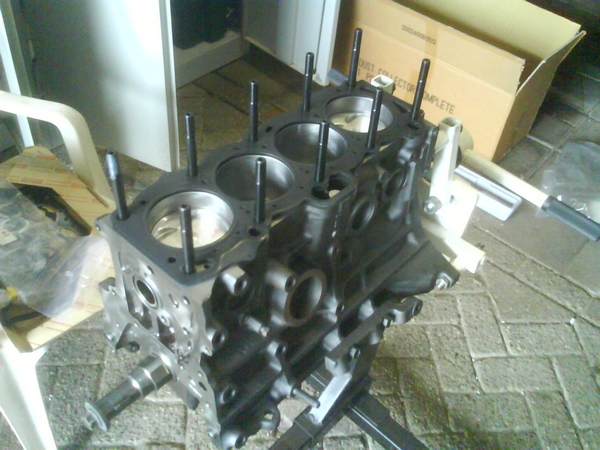
The skimmed, bored, and fine honed cylinder block with new pistons and ARP head studs.
The remanufacturers had done all the measurements for me and had ordered the right size bearing for me as well. Now those could be placed in the engine with a little oil to keep it all running smoothly with the first start. Then the crankshaft could be offered up to the engine.
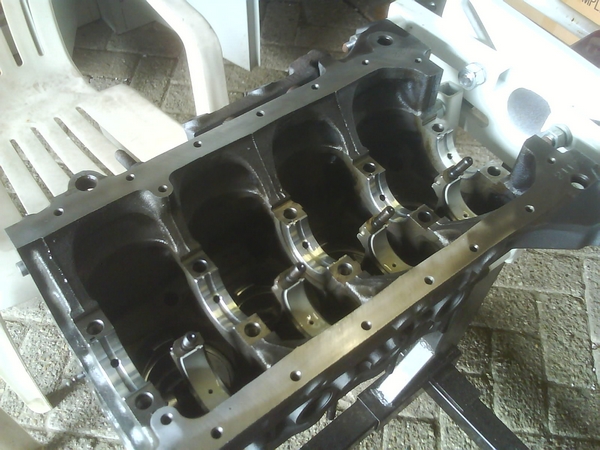
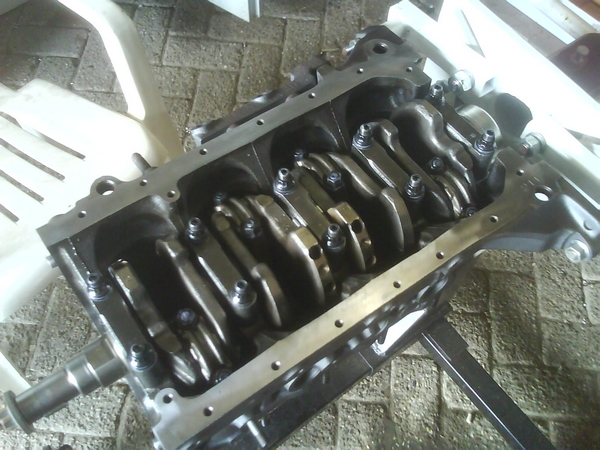
New bearings and the crankshaft bolted into place. Again, ARP hardware was used to fasten it all.
The cylinder block with the new TRD 0.8mm steel hard gasket. Ready to receive the cylinder head.
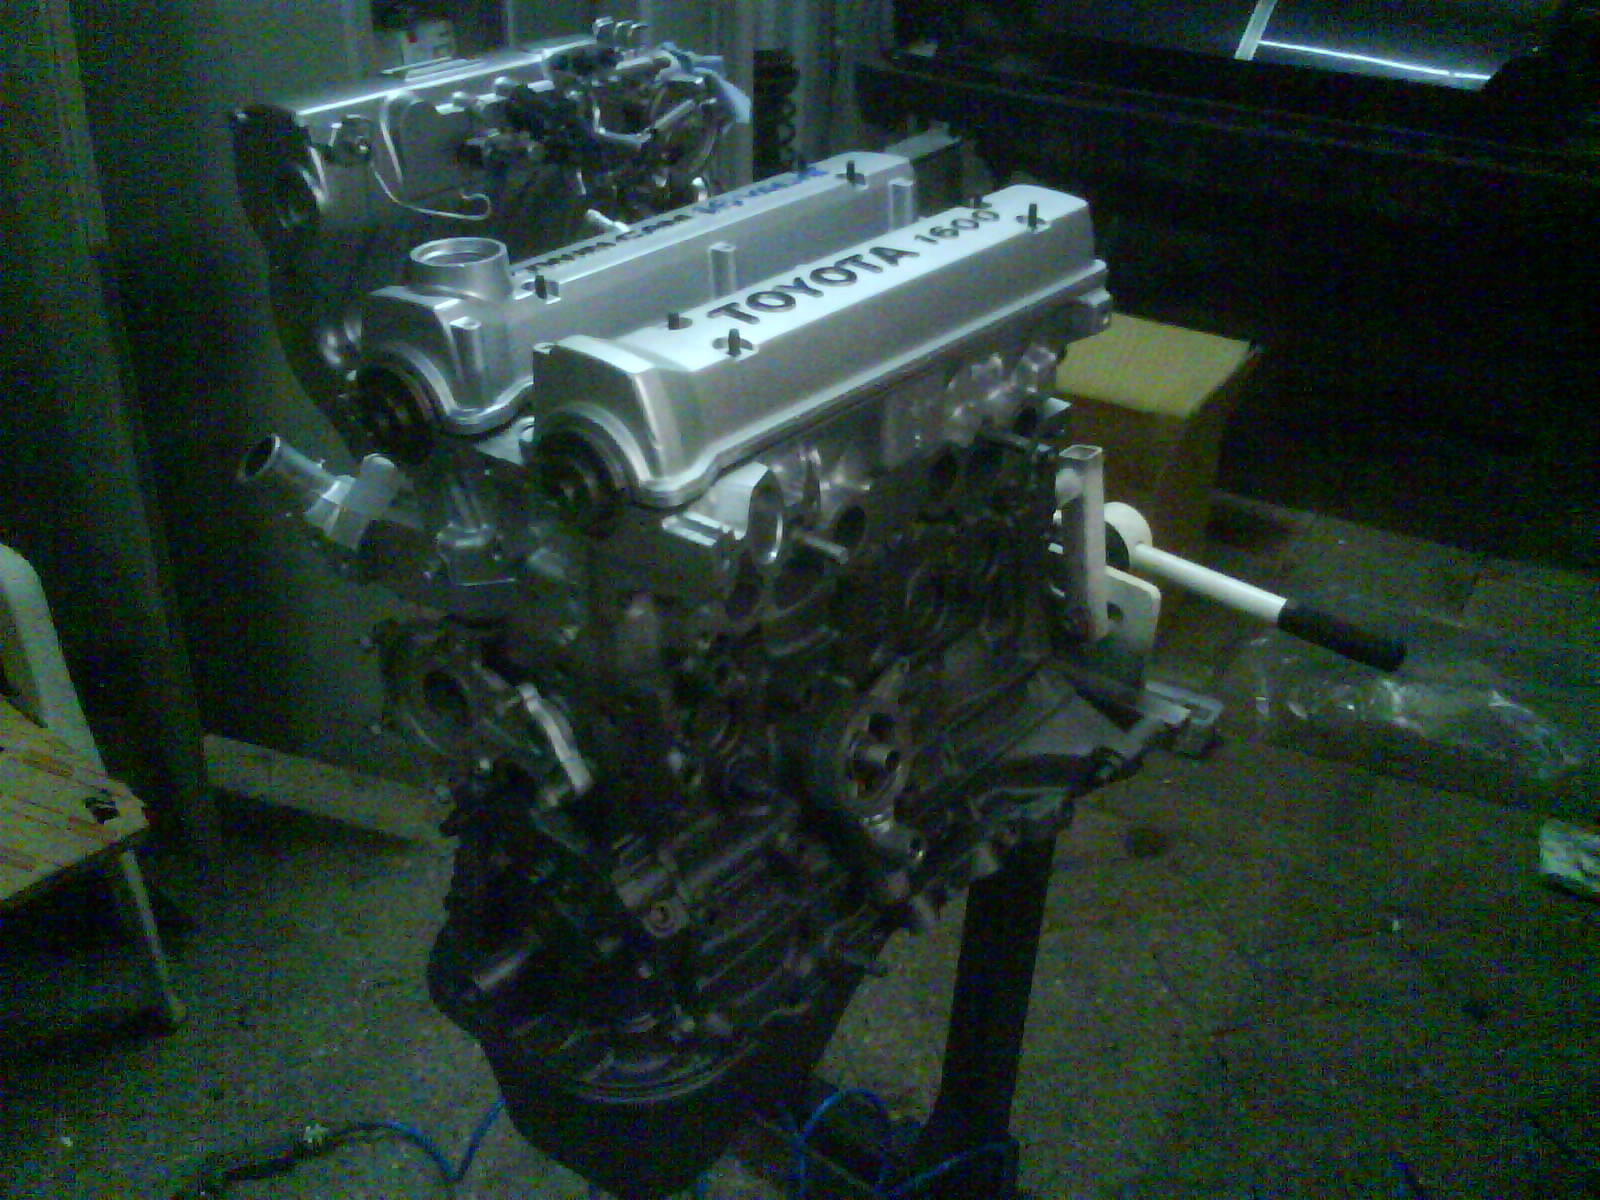
I loved working on the engine like this with all these new parts, and things were coming along quite nicely. And in all my enthusiasm, I kind of forgot to take pictures of the re-assembly and time just flew by.
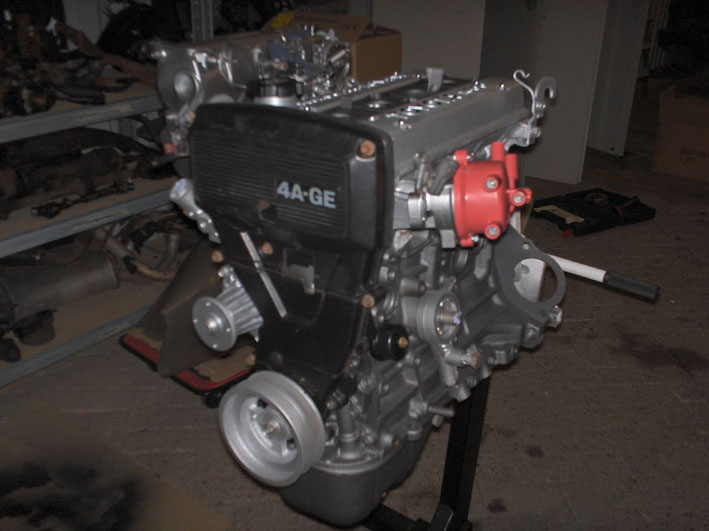
Before I knew it, it became dark outside as it was already pretty late. So I had to stop and pick it back up tomorrow. But by the end of the day, this is what the engine looked like:
I had to take the camshafts back out of the cylinder head again to be able to assemble it (You can't get to the head studs if you don't) so I had to bolt them back in again.
I used my workshop manual to see how all the nuts and bolts needed to be torqued down except for the ARP fasteners. ARP has it's own torque specifications for its fasteners.
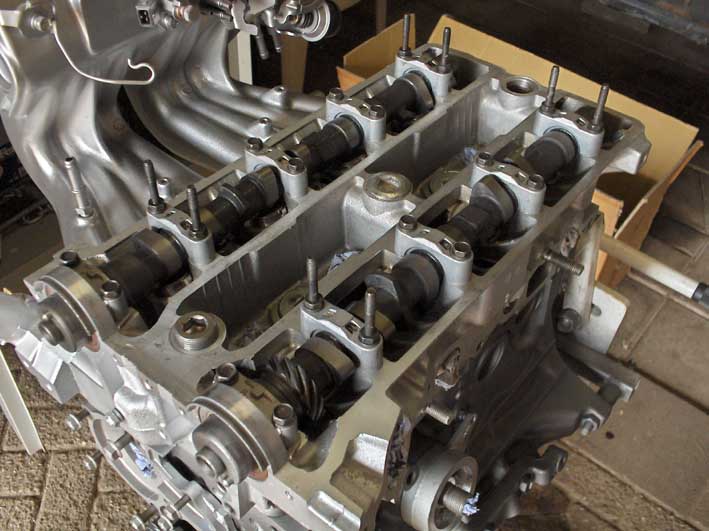
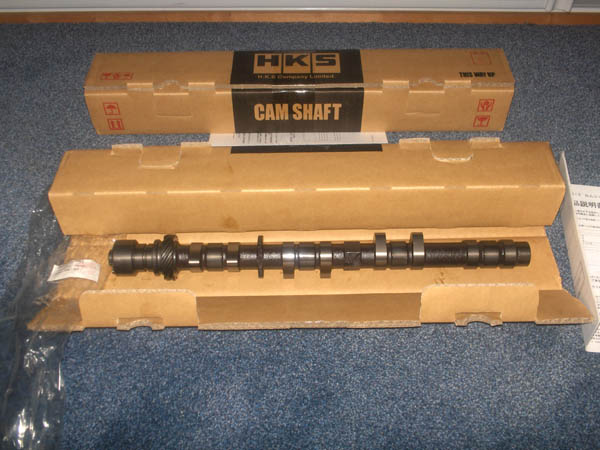
The new HKS camshafts installed in the cylinder head.
Some new parts still had to be ordered, like the distributer cap, tensioner pulley, new waterpump, timingbelt, etc.
But I went to pick it all up from the dealer, so I could continue the assembly.
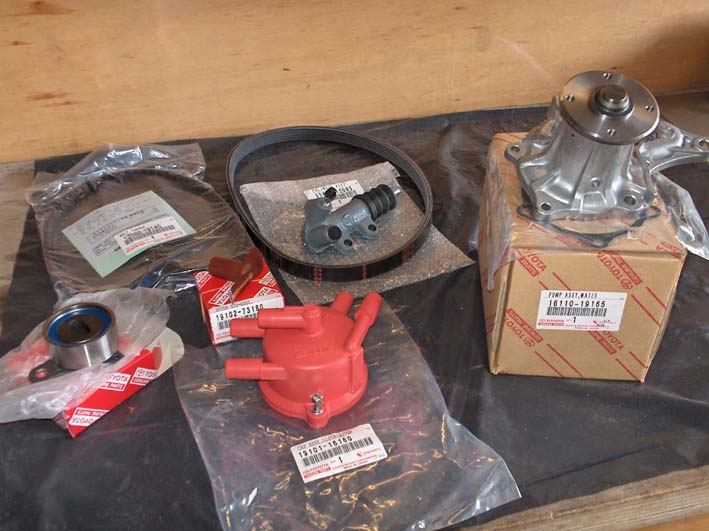
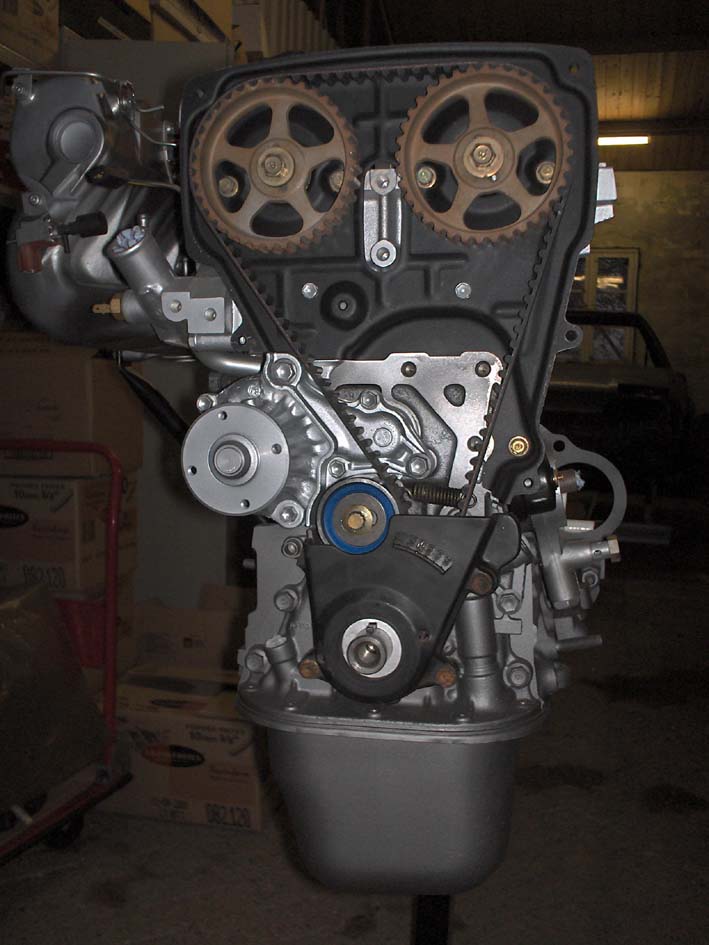
The new timing belt, tensioner pulley and water pump installed on the engine.
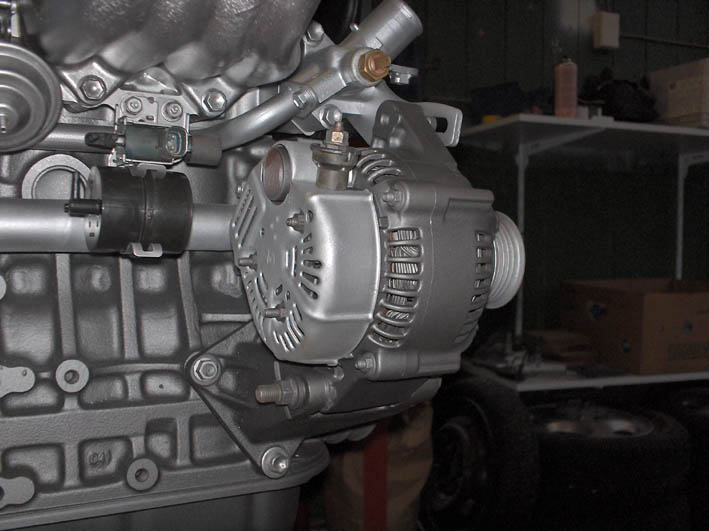
The alternator didn't look all that good anymore either. It still functioned, so I didn't replace any parts on it. But I did pull it apart so I could clean, sandblast and paint it where necassry.
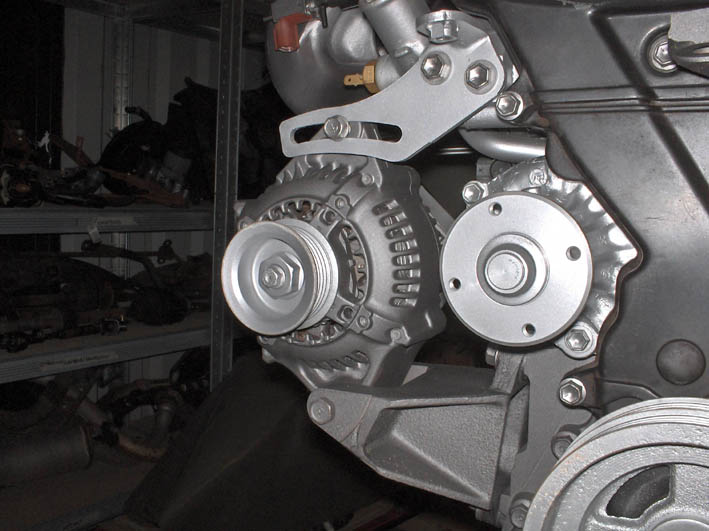
I wanted a uniform look under the hood, so the alternator was spray painted in the same colors I used for the rest of the engine.
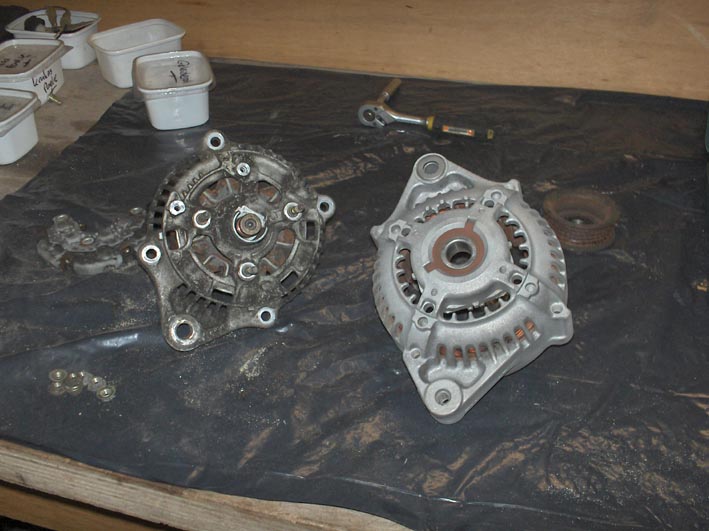
Before cleaning on the left and after cleaning and sandblasting on the right.
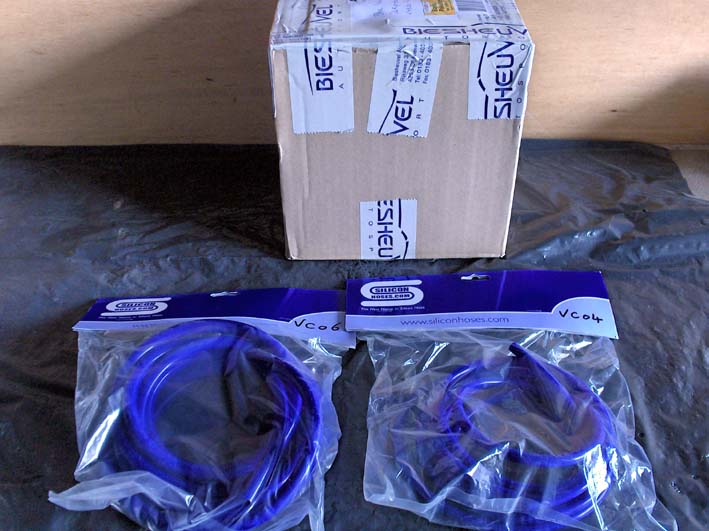
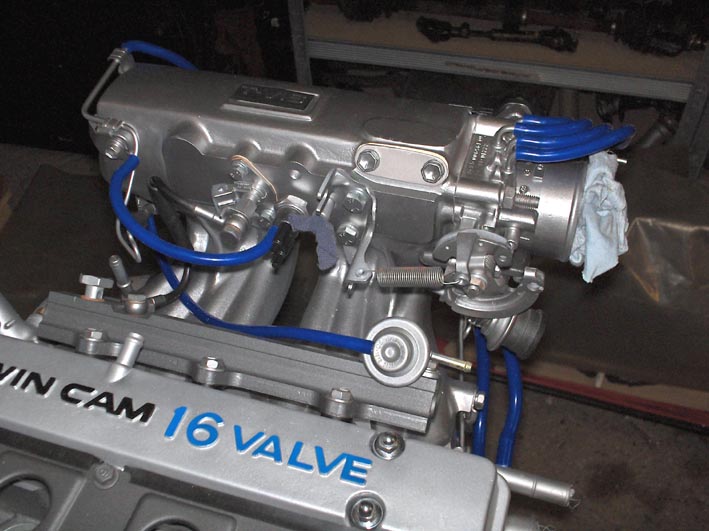
As could be seen a bit higher up on the page, I ordered a few blue silicone hoses to replace the old dried out black vacuum hoses. I figured the blue would fit the rest of the engine nicely.
When the old rubber hoses dry out, they tend to start leaking and that can cause all sorts of annoying problems.
So I replaced all of them with the help of pictures I took of the engine earlier and with schematics that were in the workshop manual.
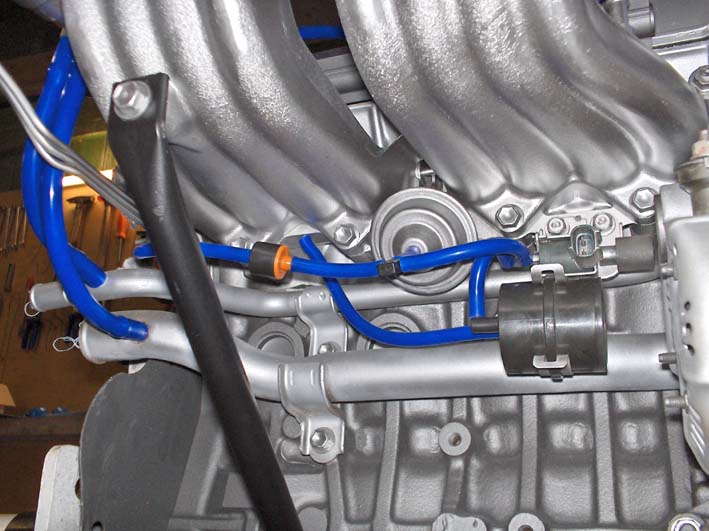
The new silicone hoses. You can also see the block-off plate for the EGR opening in
the intake manifold in this picture.
The 4A-GE came with a EGR system installed on it. This reroutes some of the exhaust gases directly from the exhaust manifold to the intake manifold under certain conditions.
I wasn't going to need it to pass Dutch emission testing, so logically, I decided to delete it from the engine.
Dirty, hot and oxygen starved exhaust gasses isn't something I want on the intake side of my engine.
So I didn't install the actuator and plumbing for the EGR system back on the engine and simply plugged the vacuum lines that were involved with the system. I made a little block-off plate and gasket for the hook up to the intake manifold. The connection to the exhaust manifold wasn't going to be used anymore anyway as I wasn't going to use the original exhaust manifold anymore.
The new exhaust manifold I am going to use doesn't even have a port for a EGR system, so no worries there.
Now that was all done, the engine rebuild was coming to an end. I only had to take care of a few small things, but I eventually never came around to them anymore as I had already decided to ditch the 4A-GE engine in favor of the much stronger 4A-GZE engine.
So has all the work until now been in vain?
Well, yes and no.
This was my very first engine rebuild and a learned a lot doing it. I also had a blast doing the rebuild and that's always a good thing.
Am I ever going to use this engine again? Probably not.
Selling it is not really an option. With all the work, the remanufacturing and parts that have gone into this engine it owns me in the region of €3000,- and nobody is going to give me that. You can pick up a good, running 4A-GE for maybe a quarter of that price on the secondhand market, so people would have to be mad to pay me that sort of money for it. And I'm not going to hand out any presents by selling it for a fraction of its worth.
So for now, it will remain in my workshop. I might have some use for a few parts in the 4A-GZE, but it will mainly gather a bit of dust in the coming years. I agree that is a damn waste, but that's how these things go.
And who knows, if the 4A-GZE ever decides to crap out on me, it's nice to have a backup engine.