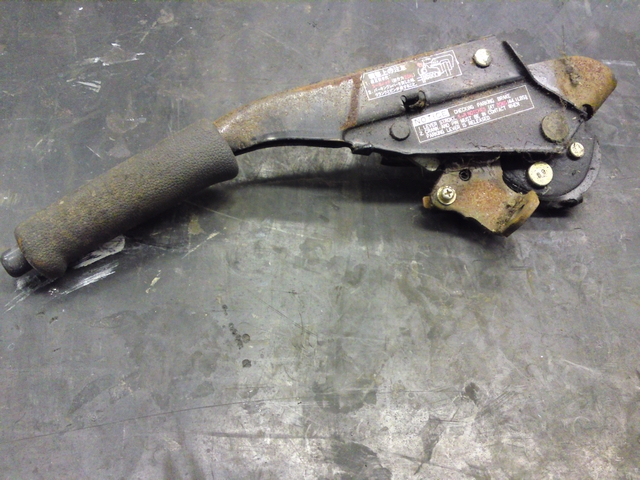
Handbrake lever handle
The handbrake lever had seen better days. And even if it does look it's best, it's still not a very nice thing to look at. A short piece of plastic that has to function as the handle looks a little cheap in my eyes. Certainly when the rest of the interior parts have been replaced with nice, shiny, new, self made parts.
Again, there are aftermarket off the shelf solutions for this, and again, I liked non of them. So I just had to look what I could do about that.
If I wanted to refurbish the lever, it would have to come apart. But Toyota had riveted it together and those rivets couldn't be removed. So I just drilled away those rivets and then it could be disassembled.
I'd look into how I could put it back together again later on.
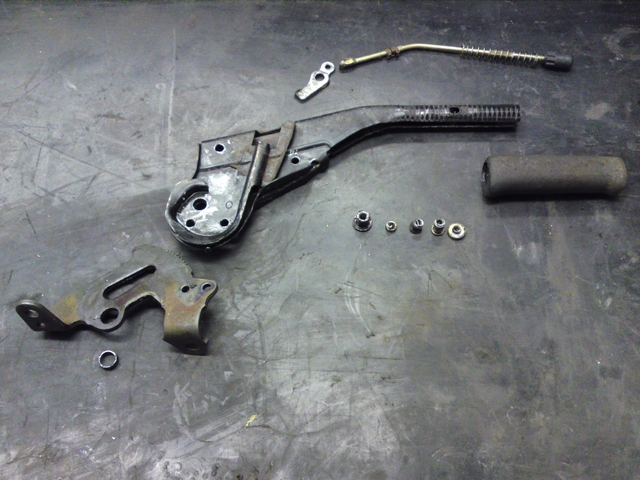
Let's start with cleaning it all up in the sandblasting cabinet and give it all a nice new coat of paint to make it look a little better again and to protect it against rust.
But I still needed to think about something for the handle. Because that hideous piece of plastic certainly wasn't going back on there.
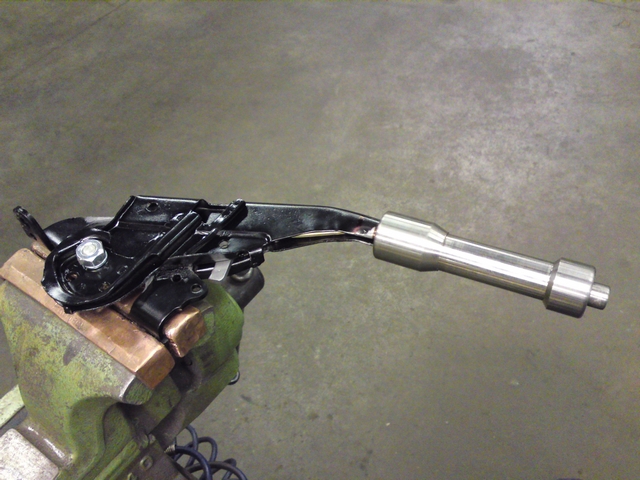
So when I got bored at work on a slow day, I decided to get behind the lathe and fool around on that a little. I had a rod of 316 Stainless steel in the lathe and wanted to see what I could come up with.
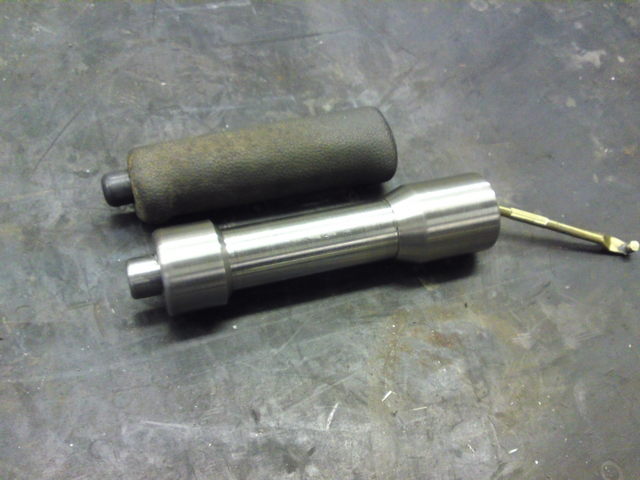
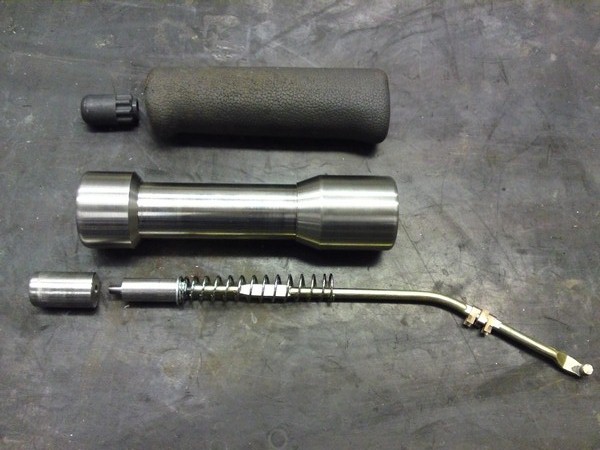
It didn't take me long to create the handle you can see above. I liked it. It was nice and firm to grab hold of, it looks a little more elegant as the old plastic handle and it would fit the rest of the interior. I made a little release knob the match the handle.
But I made the handle a little longer because the old one looked a little cobby. But that meant that the little rod in the handle that operated the release lever had to be extended a bit too.
So I made a little adapter of the right lenght, that screws into the little knob and would also screw onto the rod. Now it all matched up again and the release lever could be operated again.
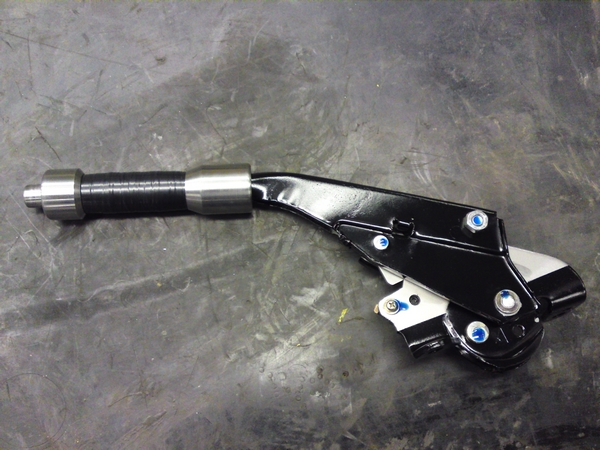
Once fitted to the handbrake lever, it looked a little like this:
To put it all back together again, I just used bolts and and threaded the remains of the old rivets so a bolt could be screw into them. I screwed in the bolts just far enough to keep it al together but let everything work smoothly. If I would have bolted it all down hard, it couldn't move anymore. I used a little sealant to keep the bolts from unthreading.
Bit after looking at it for a while...there was just something missing. Maybe the center piece needed something to be done with it. Maybe it needed a little patch of leather or something like that.
I wrap a bit of black electrical tape around it to get an idea of how that would look like.
Hmmm...not bad, that did look better. But it would need something decent wrapped around it. This tape was just for visualization purposes and would make it to the car.
So when a few pieces of the interior were send out for upholstery, I gave them the handbrake handle as well and told them what I wanted it to look like.
It returned to me a few weeks later looking like this:
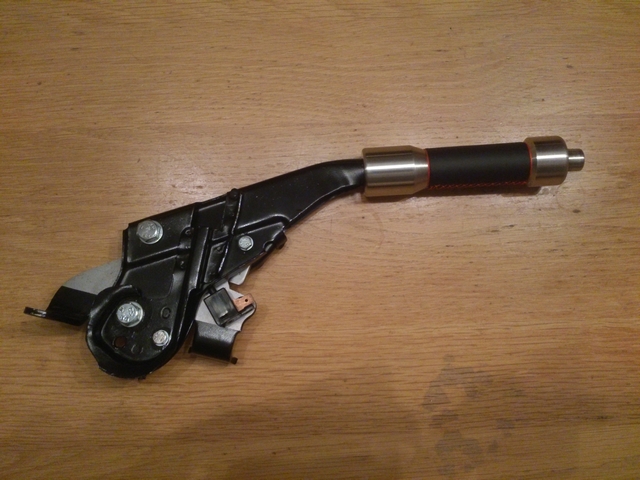
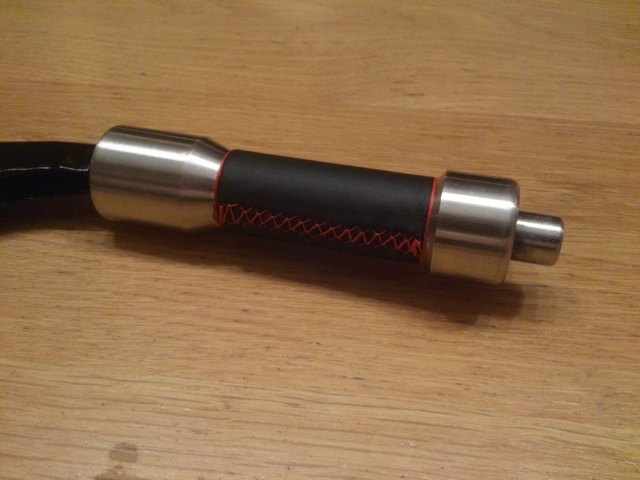
Exactly what I wanted! Nice subtle black leather with red stitching. There was some padding under there to make the grip feel a little nicer and for the finishing touch, both ends got some red accents.
This will go very nicely with the rest of the interior and it's a vast improvement over the plastic that was on the handbrake lever before.