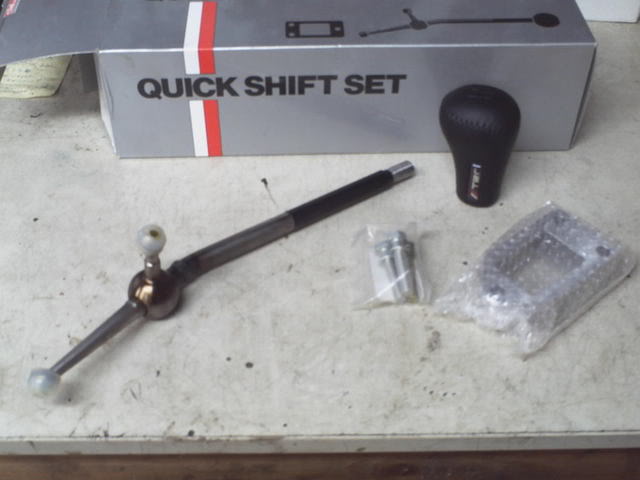
Gearshift knob/short shifter
After I made improvements to the car's pedals and handbrake lever, I wasn't going to screw to old gearshift knob back on. It was a leather upholstered one, but it was badly worn.
I had ordered a replacement via the internet years ago. A nice leather upholstered TRD one which is very well known it Toyota circles as it's pretty popular.
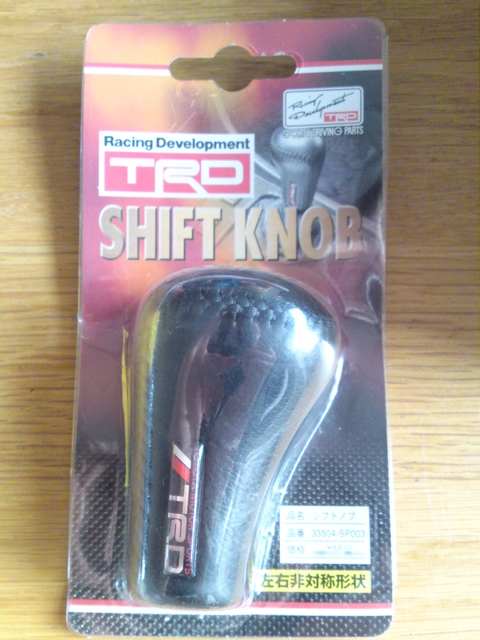
It's popular for a reason, because it is quite nice. But after I had made the aluminum pedal set and stainless steel handbrake lever handle, this knob wouldn't really fit in anymore. Besides, the rest of the interior would be black leather with red stitching. This TRD knob has black stitching so that would look a little weird as well.
Sow I got back behind the lathe in a quiet moment at work and put another piece of stainless steel on there.
I should be able to come up with something that would suit the interior of my car and all the custom parts that were already made for it.
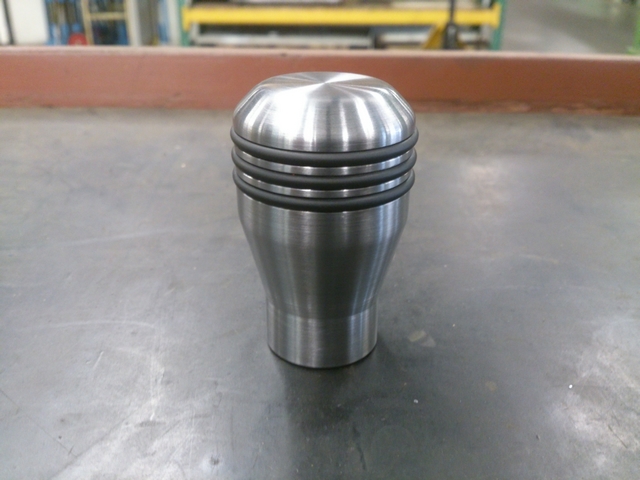
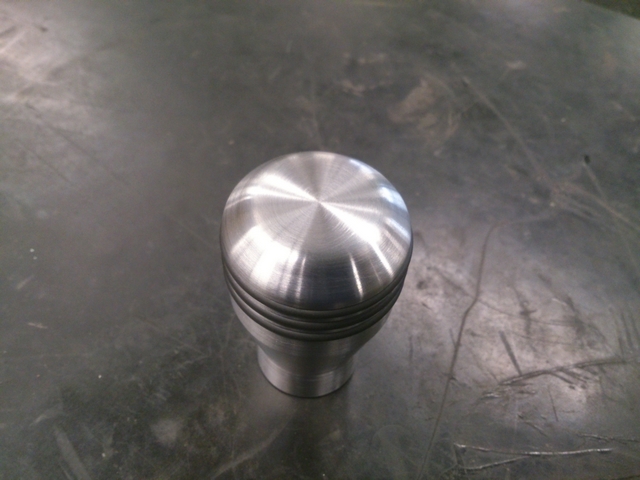
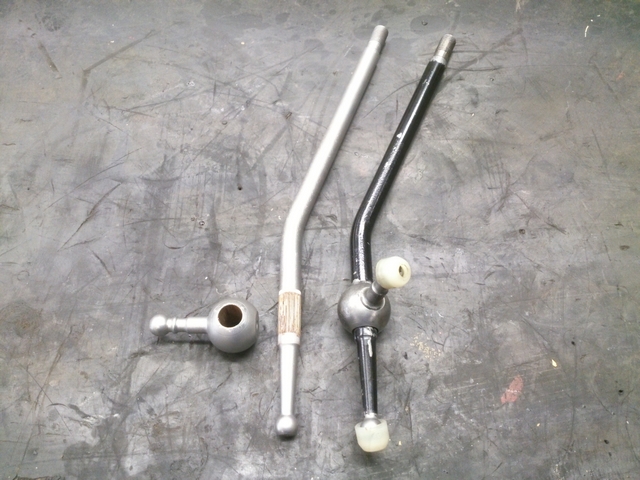
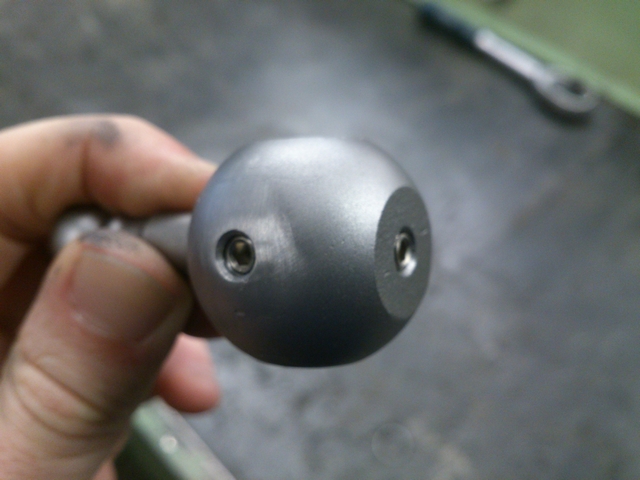
After fooling around on the lathe for a while, I managed to create the gear knob you can see in the pictures above from a solid piece of round 316 stainless steel. But just one solid lump of steel looked a little cumbersome and boring. So I cut 3 grooves in it where O-rings would fit nicely. It made it look just that little more interesting.
The gear knob is very comfortable to hold in my hand and compliments the rest of the custom parts nicely. It doesn't have a shift pattern on it, but it seemed a shame to ruin that nice machined facing by engraving it with a pattern I already know by heart.
At least I can say that I have a unique and one of a kind gear knob.
But that unique gear knob had to be screwed onto something as well.
I had already refurbished the gear selector assembly a few years ago, but afterwards, I really wanted to modify it into a short shifter.
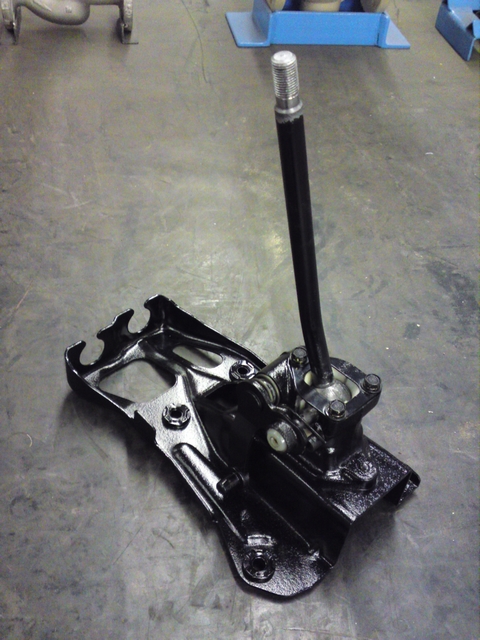
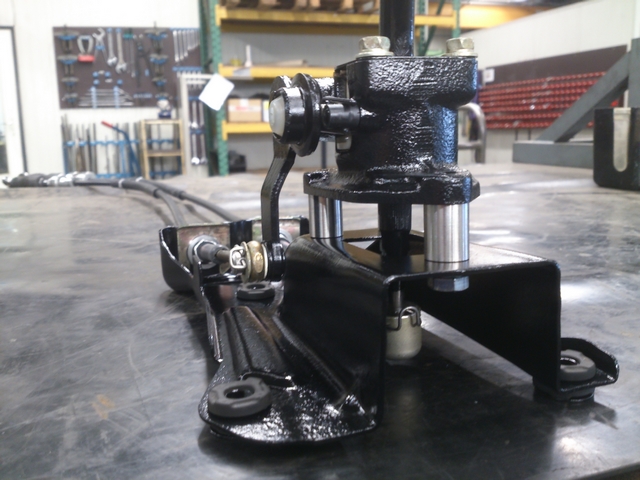
The gear selector assembly as it came out of the car, albeit a little refurbished already.
TRD made a short shifter kit for the AE92, but they have been discontinued long ago and have become sort of a collectors item. Now I do like rare and collectable parts for these cars but when prizes become ludicrous for what it really is, I figure I can better look at what I can do myself.
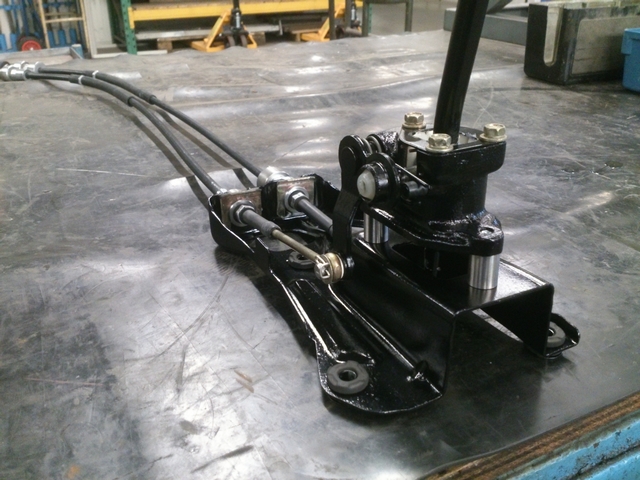
The original short shifter kit as produced by TRD.
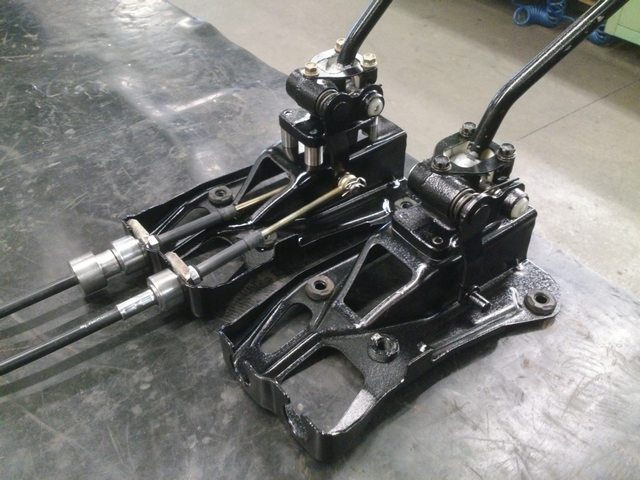
The biggest difference between the short shifter kit and the original shifter assembly is that the pivot point is placed a little higher up. The arm under the pivot point is longer, making the throw under the pivot point longer and with that, the throw above the pivot point a bit shorter.
To make room for the longer arm under the pivot point, the entire pivot assembly has been raised to compensate for this with the solid aluminum block you can see on the right.
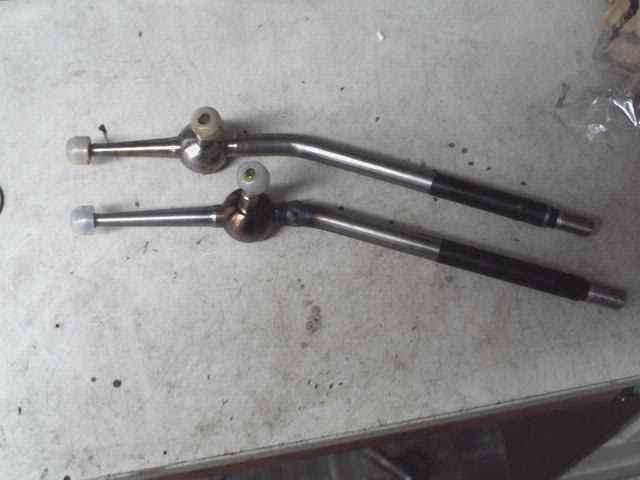
The difference in pivot points between the original stalk (top) and short shifter stalk (below).
The pictures above of the TRD short shifter kit are actually made by someone I know, so I asked him to measure the difference in length for me so I could use those measurements as a basis for my own shifter.
The difference turned out to be only 20mm's, so I should be able to shift over the pivot point by that length.
I decided I just wanted to give it a try, but as I wasn't sure how this modification would turn out, I didn't want to sacrifice the original shifter out of my car.
But there had been a shifter included with the frontcut of the new engine. That was a RHD orientated shifter (which leans over to the other direction) but with the way I was planning the modification, I might still be able to use it.
So I searched for it in my parts magazine and disassembled it to be able to sandblast all the parts and clean it all up a little.
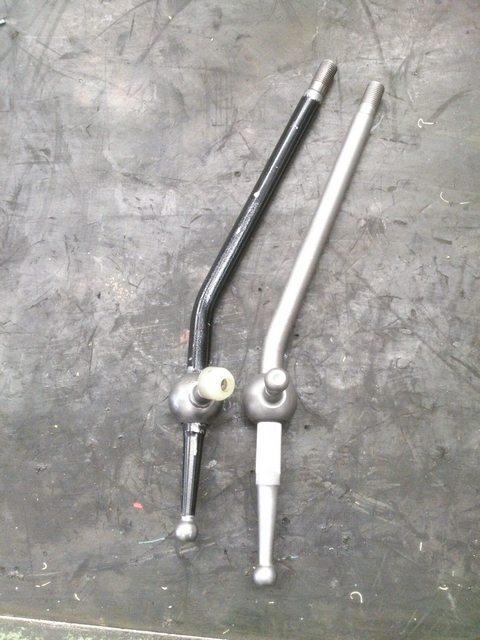
The ball that formed the pivot point was pressed on a splined section of the stalk and I in turned have pressed it off with the shop press. It took 5 tons of pressure, but then the ball finally gave way and could be pressed all the way off the stalk.
But I had to be able to reattach the ball on the stalk again too. I was afraid the splines weren't going to keep it in place anymore after pressing it off, so I drilled 3 holes in the ball and tapped M5 thread in them so I could screw 3 hex index bolts in to keep it secured on the right height on the stalk.
I could reattach the ball on the stalk again, but this time, I would place it 20mm's higher. Now I could also turn the ball so that the stalk would be leaning over in the right direction for a LHD car.
Now that the stalk was done, I needed to raise the pivot point up by 20mm's to compensate for the longer arm under it. TRD used a solid aluminum block, but I didn't have the right materials at my disposal at that time, so I had to think of something else.
So I turned 3 stainless steel bushings on the lathe that were 20mm high. I installed these under the pivot point using longer bolts and installed the shifter cables as well to see if the new stalk would work.
And it did wonderfully well! The throw is noticeably shorter and feels nice and direct.
The difference between the original shifter and the home made short shifter assembly.